

Finding the Add New Member wizard #
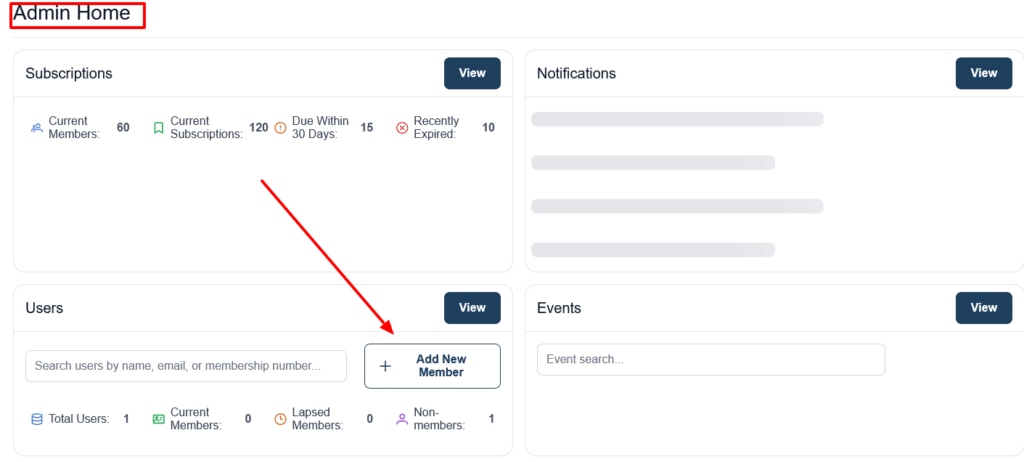
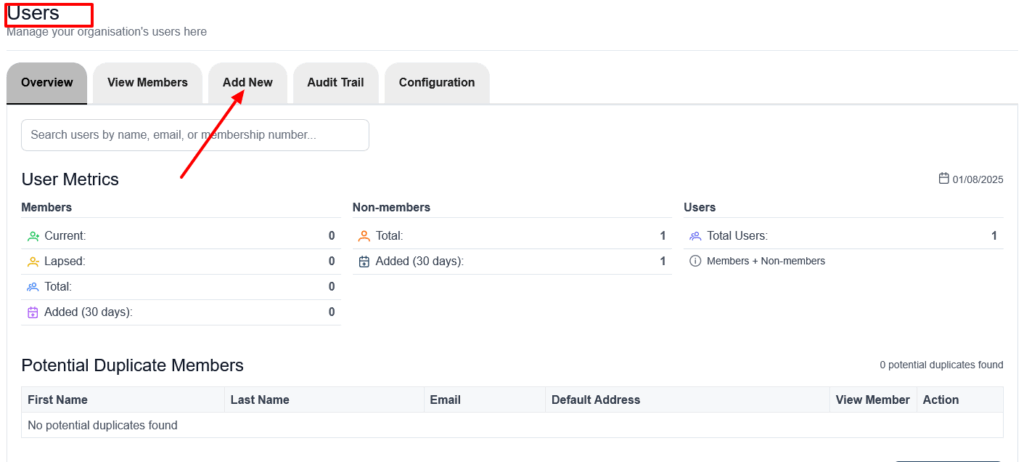
Click on the Add New Member button in the Users section of Admin Home or on the Add New Member tab on the Users page.
Step 1 – Select the type of Member(s) you are adding #
First select whether you are adding an Individual or a Group. If your organisation doesn’t have Group members, you won’t see this option.
If you select Person, for organisations with Junior members, choose between Adult and Junior. If you select Group, choose between Family and Corporate/Non-Family Group. If you don’t see all these options, it’s due to your organisation settings. Click here to find out how to adjust those settings.
Step 2 – Add their personal details #
First name and last name are required. Title and email address are optional fields. However we recommend that you add an email address for Adult members.
When adding a Group, the system will automatically give them a Group name, based on the surname of the first person you add (with a bit on the end to distinguish between different families with the same surname). This is so that you can find them easily in the list of members.
If you are adding an Individual and want to add them to an existing Group or link them to another Individual in the system, select that option once you have added their personal details.
Step 3 – Address #
Once you have added their personal details, you can exit the wizard by clicking on Done. Or you can add one or more addresses for the Member(s).
Step 3 – Membership Forms #
TBD
Other ways to add new members #
The wizard described here is designed for adding one, or a few members. If you want to add all of your members to the system during the set-up phase, you can import your members.
